Now that Lord Borak's base is cured, and I have primed and painted some glazed highlights on his armor, as well as the skull-headed boot (I am sure he uses to foul payers with! :D), let me cover some basics on the dry-brush...
Here are two colors, Citadel's Celestial Grey and Ceramite White...
I am going to start by putting some feathery-light touches on this base with this dry-brushing brush...
(click any pic to enlarge)
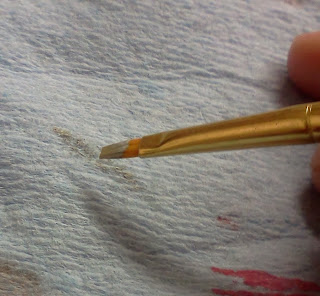
I am going to make sure that there is just enough paint for it to "stick" to the ridges in the sculpted base, so I will wipe off any excess I might have on some paper towel...
As I pass the brush over the base, I am being careful to ensure that they are "feather-light" almost caressing the ridges of the sculpt so that the dry-paint will stick...
After dry-brushing on the grey, I am going to pass over the same area with some white to increase the 'depth' between the darkness in the shadows, and the highlights on the ridges, thus giving some real texture to the base...
If you look at the previous pic just before the one above, you will notice a subtle but important difference in the two photos; the first with some grey highlights, but notice how the second one 'pops' more with definition!
Here is the finished model!
(click the pic to enlarge)
Let me know what you think by going to Cool Mini or Not and voting!
Hope this simple dry-brush tutorial was helpful! :D
Any feedback you have is welcome.


No comments:
Post a Comment